


Overview
Before using the Generic Inventory System (GIS), complete the following preparation steps to ensure smooth integration and usage. This section covers enabling plugins, obtaining the companion project, understanding project contents, and migrating to existing projects.
Enabling Plugins

Ensure the GenericInventorySystem and GenericGameSystem plugins are installed via Epic Launcher and enabled in your project.
Obtaining the Companion Project
Complete purchase verification through Discord to access the companion project, which includes:
- Core asset files
- Additional assets
- Demo content
Note
Please refer to the companion project for learning and usage; its contents are sufficient to understand how GIS operates, so the documentation cannot fully replicate every aspect of GIS functionality.
It’s strongly recommended to study this document alongside the companion project for quick learning.
Understanding Project Contents
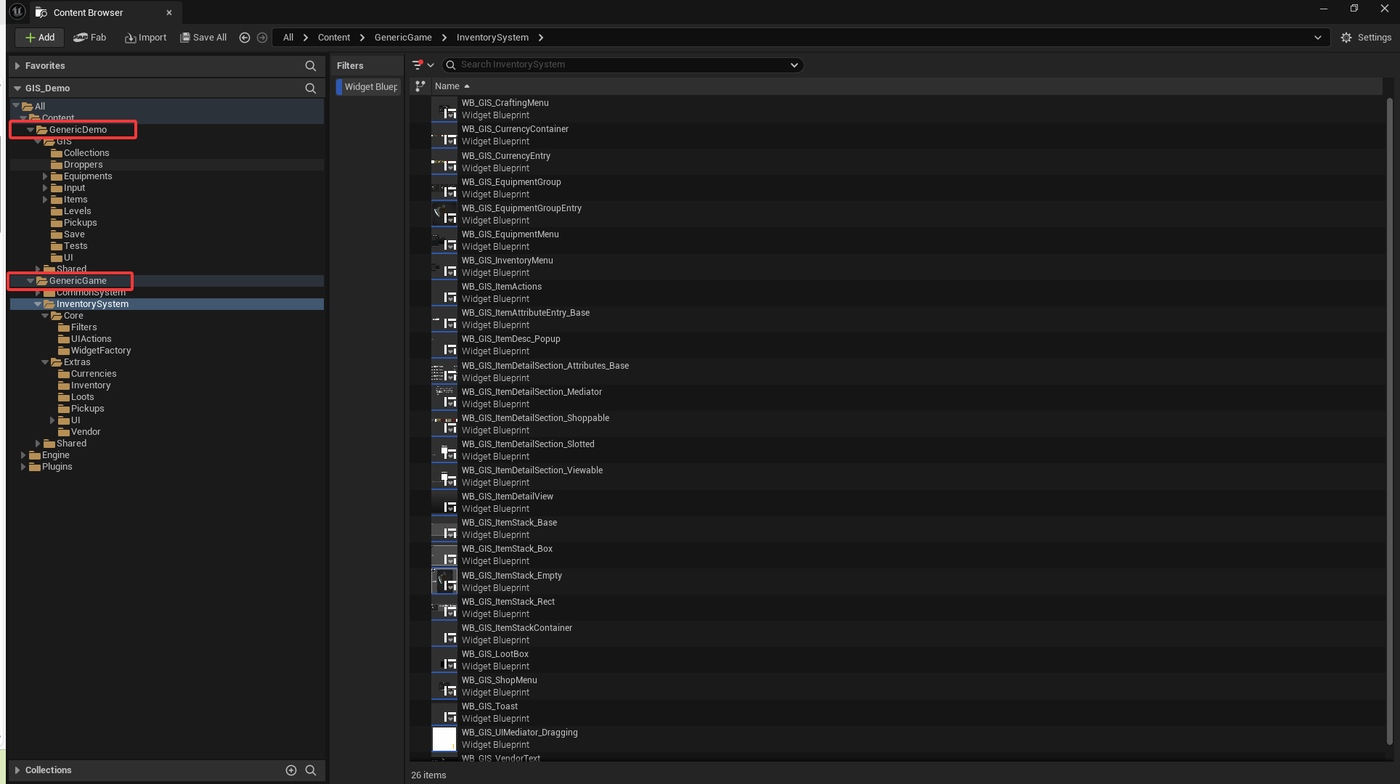
The companion project includes the following folder structure:
| Column 1 | Column 2 |
|---|---|
文件夹 | 描述 |
GenericGame/Shared | Contains UE5/4 Mannequins assets, simple reusable Blueprints, and free Epic content (subject to Epic’s licensing terms). |
GenericGame/CommonSystem | Part of GenericGameSystem, including interaction, camera, effects, and other assets. |
GenericGame/InventorySystem/Core | Core GIS assets, which should not be modified as they may be overwritten during updates. |
GenericGame/InventorySystem/Extras | GIS UI assets, including reusable Widget Blueprints. |
GenericDemo/GIS | Demo Blueprints, characters, and levels for GIS, designed for learning and can be removed during migration. |
Note
Try to avoid modifying the contents of the GenericDemo folder, as it is intended solely for reference to help you learn and understand usage. If you find the demo content meets your needs, you can copy the entire folder elsewhere and start modifying it.
API Overview
All available Blueprint nodes can be found in the APIGraph within the GIS_Demo level.
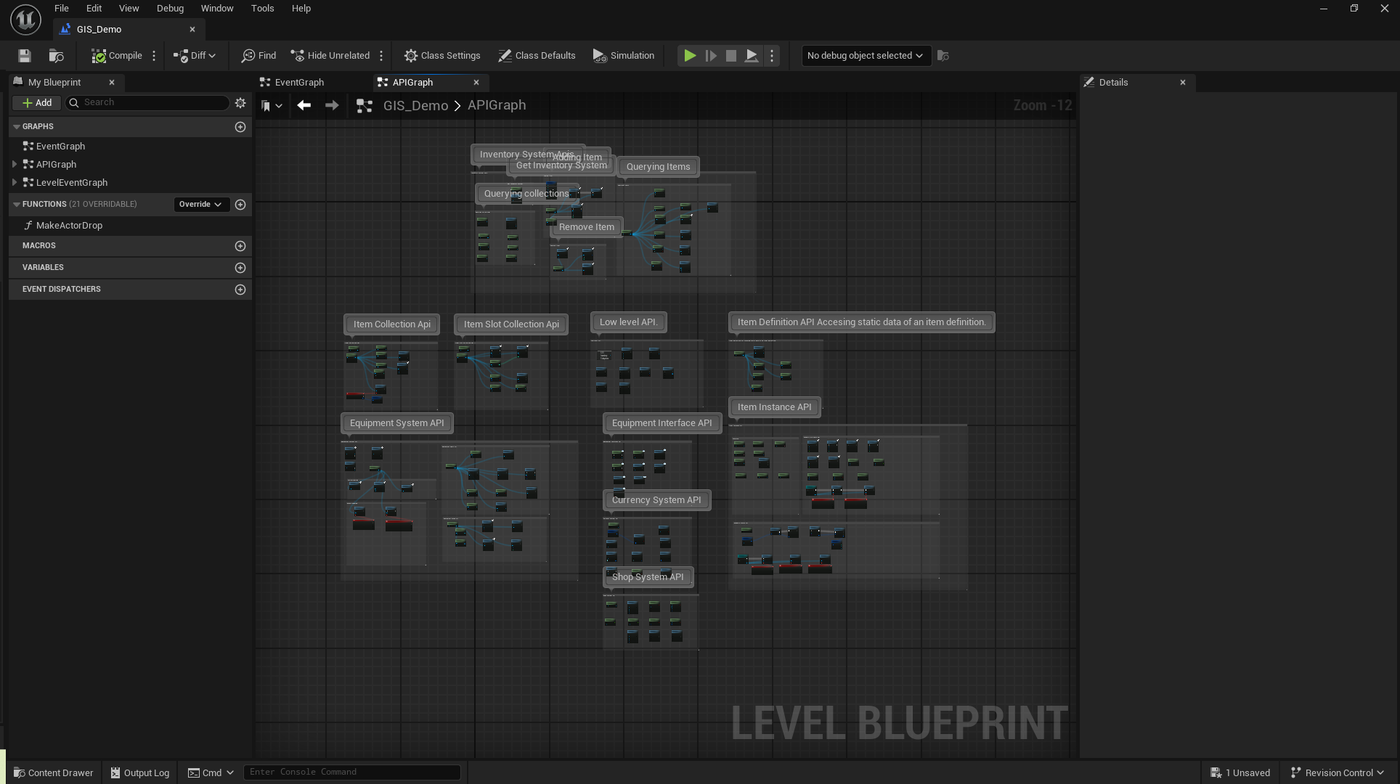
The BP_GIS_UnitTester Blueprint includes test cases for various APIs, helping you understand their usage clearly.
Migrating to Your Project
Familiarize yourself with the GIS_Demo project before migrating to an existing project to better select needed components and exclude unnecessary ones.
For new projects, you can start directly with GIS_Demo as a foundation.
Migrating Contents
For migration to an existing project, only the GenericGame folder is required. Use Epic’s migration tool or manually copy-paste in the file explorer.
Migrating Tags
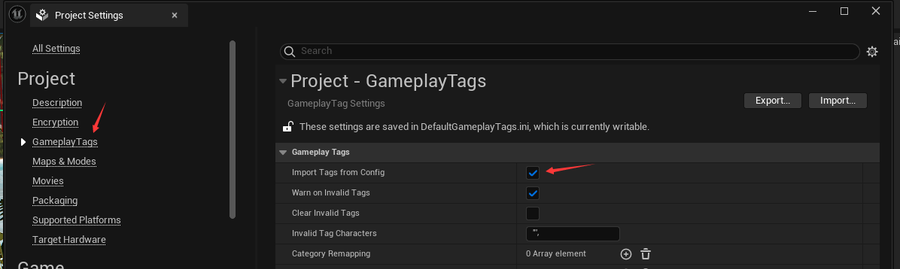
Migrate all .ini files under Config/Tags and ensure the ImportTagsFromConfig option is enabled in Project Settings under the GameplayTags section. Block Field
Migrating Settings
Migrate settings from DefaultGame.ini and check the GIS_Demo.uproject file to confirm which plugins should be enabled.
Update Considerations
GIS will receive ongoing updates, with the companion project updated alongside new code releases.
The simplest update method is to repeat the migration steps above.
However, as GIS evolves, file paths may change, new features may be added, and old ones may be removed. To ease updates, consider:
- Treating GenericGame and GenericDemo contents as reference resources, avoiding direct modifications.
- GIS Widgets are designed for high reusability; copy them and modify styles as needed.
- When file structures change, GIS provides redirectors in DefaultEngine.ini to prevent asset reference errors after updates.